5 Most Common Folds for Print
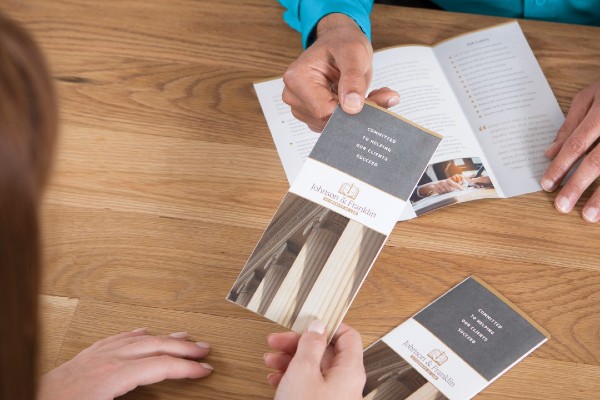
You have likely heard the common phrase “presentation is everything.” When it comes to the world of marketing materials, this is especially true. Of course, various design elements play a significant role in how your print material appears, but how you display it through certain folds can also impact the experience.
Think of the print material that requires folding, such as a brochure or menu, like a presentation deck. You wouldn’t want to cram all your content onto one slide; instead, you would split it up to make it easier to digest. With print materials, each fold is like a new slide, allowing certain elements only to appear when someone physically unfolds it. This can enhance the presentation of your material and allow one to engage with it more effectively.
As a small business owner, providing something tangible to represent your brand can be a great addition to your marketing strategy, especially in a heavily digital world. However, preparing the material through various folding techniques may seem a bit intimidating, especially since removing a fold mark is not as easy as hitting the delete button on a digital design. To help provide a template, we’ve outlined some of the most common fold types below so you can feel confident when designing and laying out your printed material.
Half Fold
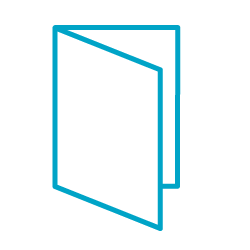 Also known as a bi-fold, this folding technique is as simple as folding the paper in half, which leaves you with two exterior and two interior panels. Selecting a fold first can help you visualize how you might design and display your information. For example, this fold may be best if you have a limited amount of text, allowing for more whitespace or area to add design elements and images. Alternatively, this is a great choice if you want to keep items together so they can be read in order, such as an invitation or an event program.
However, don’t underestimate this seemingly easy fold—folding paper precisely in half requires some measuring and planning. An uneven fold can impact the entire presentation and professionalism you’re aiming for. Grab a ruler and ensure each interior panel is the same width.
Double Parallel Fold
With your paper in hand, fold directly in half like you would with a bi-fold technique. From there, take the folded paper and make one more fold in the same direction. This creates a total of eight panels (four interior and four exterior) to work with.
Upon opening, you’ll only see two panels until you unfold it further to see all four interior panels. Determine what you want to display in those first two panels to help guide someone to the content within, and remember that the first right-side panel you see will eventually appear on the backside once it is completely unfolded, so plan your content with this in mind.
Brochures with this folding technique can present information sequentially or have one large display that spans all four interior panels. When crafting your content, remember that the panels are smaller than a bi-fold, for example, so you may have to reduce the content or arrange it differently on each panel.
Tri-Fold
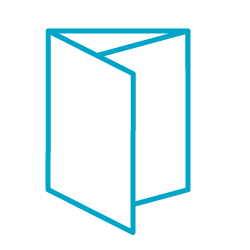 The keyword here is “tri,” as this folding technique requires folding the paper in thirds. Take one end of the paper and fold inward to the middle. Then, fold the other end of the paper inward so that it overlaps the previous fold and reaches the other edge.
This folding method is commonly used for letters that need to fit inside standard envelopes, which is why it is also known as a “letter fold.” However, this can be a great brochure or pamphlet folding technique, leaving you with three large panels to work with internally and externally.
Closed Gate Fold
This folding technique offers a unique unfolding experience, as it resembles opening two large gate doors (hence the name). Upon opening, there are two front panels, which will eventually appear only on the back when fully opened, and then four interior panels. To achieve this fold, take a piece of paper and fold each end into the middle so that they line up, then make a fold down the center. Ensure there is no overlap when making these folds, as this could impact the design and the content that shows right out of the gate (no pun intended).
Like many other folds, this can be great for brochures if you want to add a cohesive image sprawled across those first two panels. This also works for invitations, as you can add a logo sticker or emblem in the middle that one must remove to see the content within.
Z-Fold
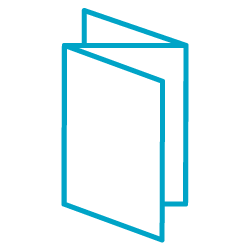 As you may have already guessed, this fold makes your print material look like a Z if you stand it up and view it from above. With your piece of paper, fold the first edge into the middle. Next, with the other edge of your paper, make the same fold, but in the opposite direction; one half of the page will be folded inward and the other side folded outward. By the end, everything should be aligned and evenly folded together.
A z-fold technique is great for brochures, especially if you would like your content to be easily viewed at once since this folding technique doesn’t require much unfolding by the person viewing it. This is great for menus, for example, as you can display your content sequentially and read from left to right.
Print Materials with The UPS Store
Print marketing has several advantages for your small business, including helping establish your brand identity. To help take your print material to the next level, The UPS Store offers several professional printing services for your small business’s flyers and brochures, menus and forms, postcards and invitations, and more. Reach out to a location near you today!
